CONFIGURATION GUIDE
The purpose of the following manual is to describe the configuration required in WiFi networks managed by Aruba Central, for integration with Octopus Platform.
| Panel | ||||||||||||
|---|---|---|---|---|---|---|---|---|---|---|---|---|
| ||||||||||||
|
1- Pre-requisites
Before starting the configuration you must log in to Aruba Central: https://portal.central.arubanetworks.com
If there is a firewall in the network that might block the traffic, you will need to allow access to some domains to enable user's authentication:
Radius Servers:
Primary: <IP_Radius_1> 1812 and 1813 UDP ports
Secondary: <IP_Radius_2> 1812 and 1813 UDP ports
Splash Portal server:
Domain <captive_portal_domain> 80 and 443 TCP ports
For the operation of the Guest and Enterprise modules configuration, it will be necessary to previously contract the Octopus platform licenses with the respective modules.
2- Guest module configuration
2.1 Create or edit WLAN Wifi Guest
Accessing DEVICES > ACCESS POINTS > RADIOS > Configuration Bottum, create or modify an existing one.
Name (SSID): SSID of the network, for example WiFiGuest
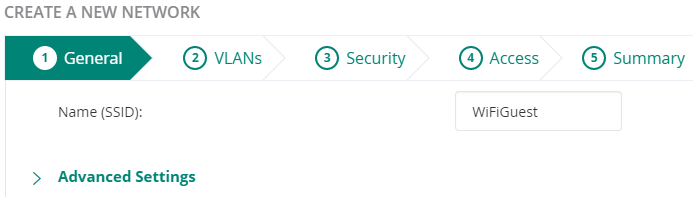
Click Next and configure:
Client IP assignment: select the option depending on network design (DHCP assigned by the Virtual Controller or for another network device).
Client VLAN Assignment: Add the VLAN that will be associated with the SSID.
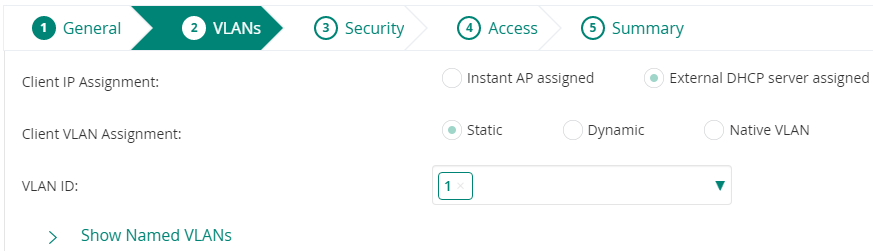
Click Next and configure:
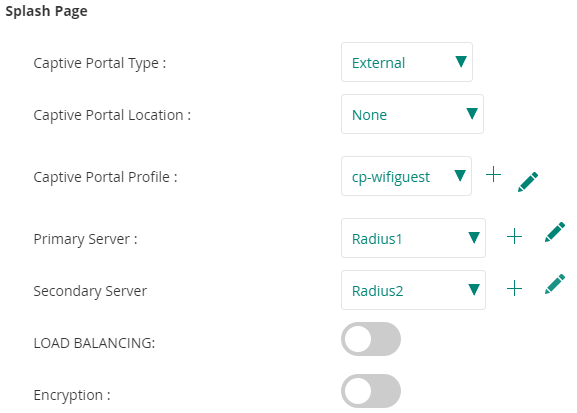
Security Level: Captive Portal
Captive Portal Type: External
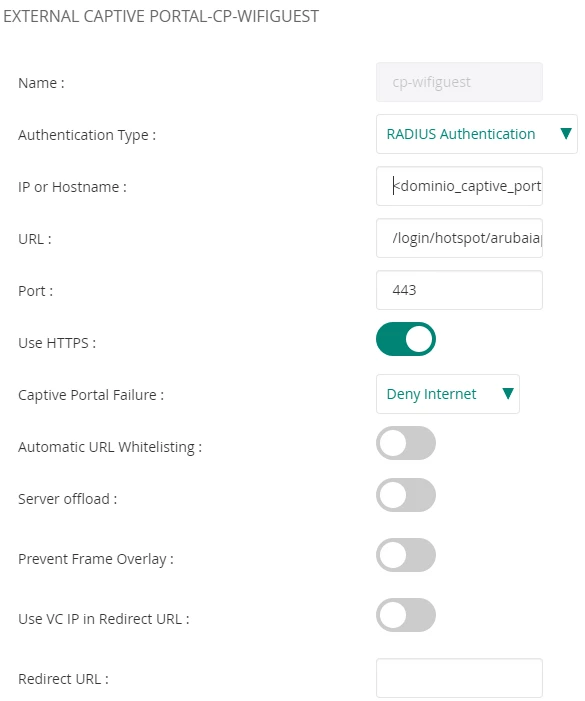
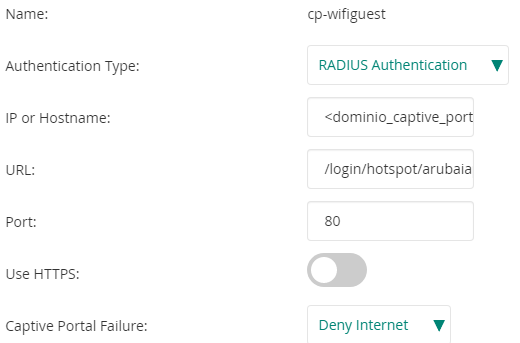
Captive Portal Porfile: Click en "+" y configurar:
Name: cp-wifiguest
Authentication Type: RADIUS Authentication
IP or Hostname: <captive_portal_domain>
URL: /login/hotspot/arubaiap
Port: 443
Use HTTPS: Yes
Captive Portal Failure: Deny Internet
Automatic URL Whitelisting: Disabled
Redirect URL: Please leave this section blank, it will be controlled in the WIFI platform.

Primary Server. Pulsar en "+" y configurar:
Name: Radius1
IP Address: <IP_Radius_1>
Shared Key: <Secret>
Retype Key: <Secret>
Accounting Port: 1813
Auth Port: 1812
Click OK
Secondary Server. Pulsar en "+" y configurar:
Name: Radius2
IP Address: <IP_Radius_2>
Shared Key: <Secret>
Retype Key: <Secret>
Accounting Port: 1813
Auth Port: 1812
Click OK
Load Balancing: Disabled
Encryption: Disabled
Advanced Settings > MAC Authentication: Disable

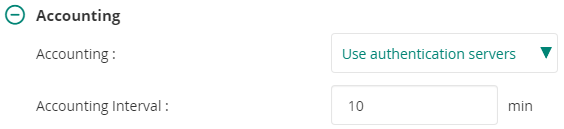
Accounting: Use authentication servers
Accounting Interval: 10 min
Click Next and configure:
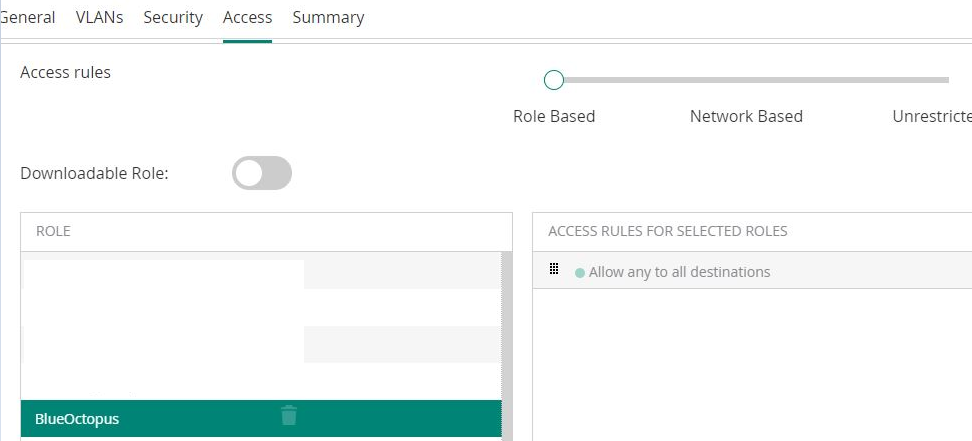
Access Rules: Role Based
Bellow Roles, Click on Add Role and assign Preauth as name. Click OK to create it.
With the Preauth Role selected, bellow Access Rules for Selected Roles click on Add Rule:
Rule type: Access control
Service: Network - any
Action: allow
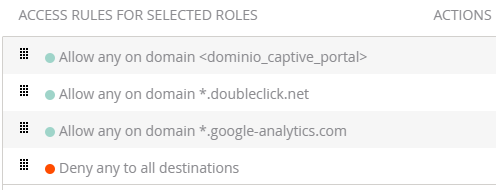
Destination: To Domain Name
Domain name: <captive_portal_domain>
Click on OK for each one of the domains that you want to add to the Walled Garden until you have the complete list.
| Info |
|---|
If you wish to add extra domains (Social Networks, Paypal, etc...) they can be consulted from the following link. |
Add the next rule:
Rule type: Access control
Service: Network - any
Action: Deny
Destination: To All Destinations.
Verify this rule is the last one of the list and save it.
Finally select the box Assign Pre-authentication Role and select Preauth

Finally click on Next and Finish to save all the changes.
2.2 Dynamic Radius Proxy (DRP) Configuration
With the funtionality Dynamic Radius Proxy allows you to activate the configuration so that all requests sent to the Radius server are always made with the IP of the Virtual Controller, while if it is not activated they will be made with the IP of each one of the APs. To enable this option Select DEVICES > ACCESS POINTS > Show Advanced Bottum > SYSTEM
Habilitar opción Dynamic RADIUS Proxy

Once activated this option all the requests sent to the radius server will be sent by default with the IP of the Virtual Controller. Nevertheless this default IP can be modify and set any other IP even if it is not the Virtual Controller's.
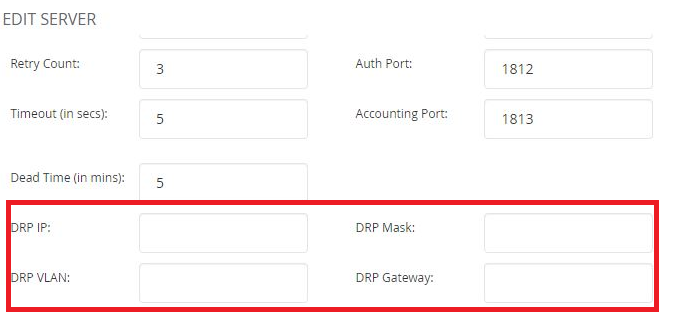
To change the IP that is being used to send the messages to the radius server (not advisable) the SSID must be edited and inside Security > Authentication Servers edit the configuration of the Radius server modifying the following parametres:
DRP IP
DRM Mask
DRP VLAN
DRP Gateway
2.3 HTTP or HTTPS login process configuration
There are two configuration options for the validation of the captive portal: One through http connectivity, where the traffic would not be encrypted, and the other through https.
HTTP option
When creating/editing the WLAN, take into account the following settings under the Security tab:
Security Level: Captive Portal
Captive Portal Type: External
Captive Portal Porfile: Click on "+" and configure:
Name: cp-wifiguest
Authentication Type: RADIUS Authentication
IP or Hostname: <captive_portal_domain>
URL: /login/hotspot/arubaiap
Port: 80
Use HTTPS: No
Captive Portal Failure: Deny Internet
Automatic URL Whitelisting: Disabled
Redirect URL: Leave blank, it will be managed from the WiFi platform.
HTTPS option
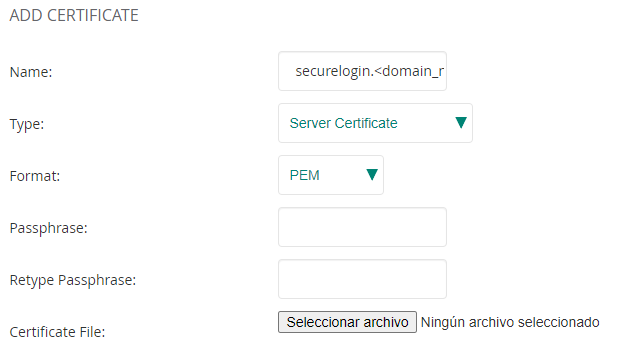
First it is necessary to import the certificates that will be used for the login of the users. To do that, access to ORGANIZATION > CERTIFICATES > Certificate Store and click on the + icon to add a new certificate. Fill in the following parameters:
Name: securelogin.<domain_name>.com
Type: Server Certificate
Format: PEM
Passphrase: Please leave this section blank.
Retype Passphrase: Please leave this section blank.
Certificate File: select the file provided
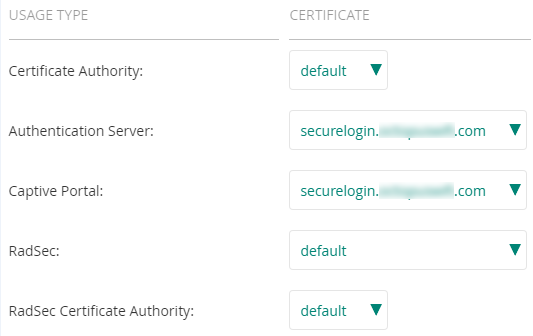
Finally we have to select the certificate to be used for validation. in order to do that, access to DEVICES > ACCESS POINTS > Configuration Bottum>Show Advanced Bottum> SECURITY > Certificate Usage and select in Authentication Server and Captive Portal.
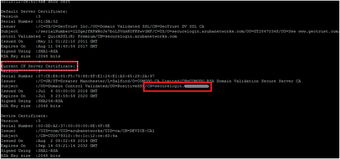
It is possible to verify the changes by CLI accessing to one of the APs and verifying that the certificate has been added correctly with the command show cert:
2.4 Authorized MAC Addresses
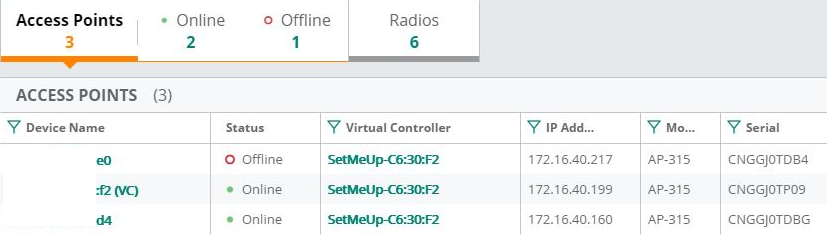
For the correct funtion of the users validation on the WIFI platform it is necessary to identify the NAS that will be able to use authentication requests to the radius server. In this case all the MAC addresses of the Access Points that will radiate the configured SSID must be added.
These MAC addresses are easily reachable in DEVICES > ACCESS POINTS and will appear on the details of each AP.
| Info |
|---|
For information on how to add the MAC address of each AP as an authorized NAS on the platform, please refer to the following link Locations |
3- Enterprise module configuration
In order to integrate the configurations of this module with the platform, it is necessary to contract the Octopus Wifi Enterprise Module.
3.1 Captive portal + MAC Authentication configuration
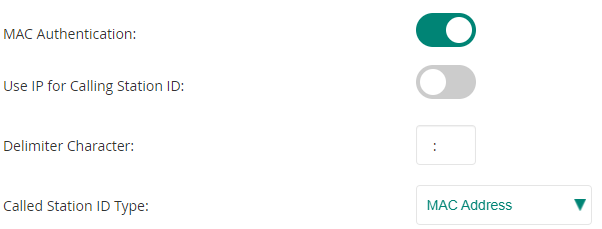
To activate the MAC Authentication it is necessary to edit the created WLAN and enable this option. Inside DEVICES > ACCESS POINTS > RADIOS > Configuration Bottum access to the desire WLAN. Once inside access to the Security tab and finally to the submenu Advance Settings. Configure with the followings parameters:
MAC Authentication: Enabled.
Use IP for Calling Station ID: Disabled
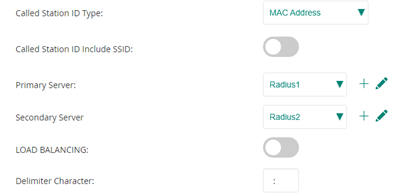
Delimiter Character: :
Called Station ID Type: MAC Address
Click Save Settings
3.2 Mac Authentication
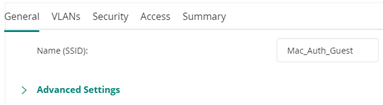
To create an SSID dedicated only to MAC Authentication validation, go to Devices > Access Points > Radios > Configuration button and create a WLAN:
Name (SSID): SSID of the network, for example, Mac_Auth_Guest
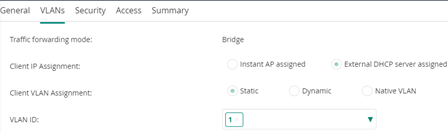
Click Next and configure
Client IP Assignment: select the option depending on the network design (DHCP assigned by the Virtual Controller or by another network element).
Client VLAN Assignment: add the VLAN to be associated with the SSID.
Click Next
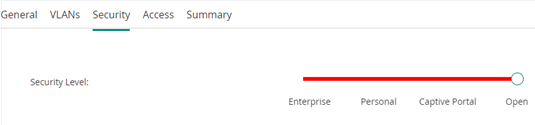
Security Level: Open
Advanced Settings
Mac Authentication: Enabled
Called Station ID Type: MAC Address
Link the radius servers created in point 2.1(radius) of this guide


3.3 MPSK Configuration
| Info |
|---|
First of all, configure the MAC Authentication functionality in section 3.1. |
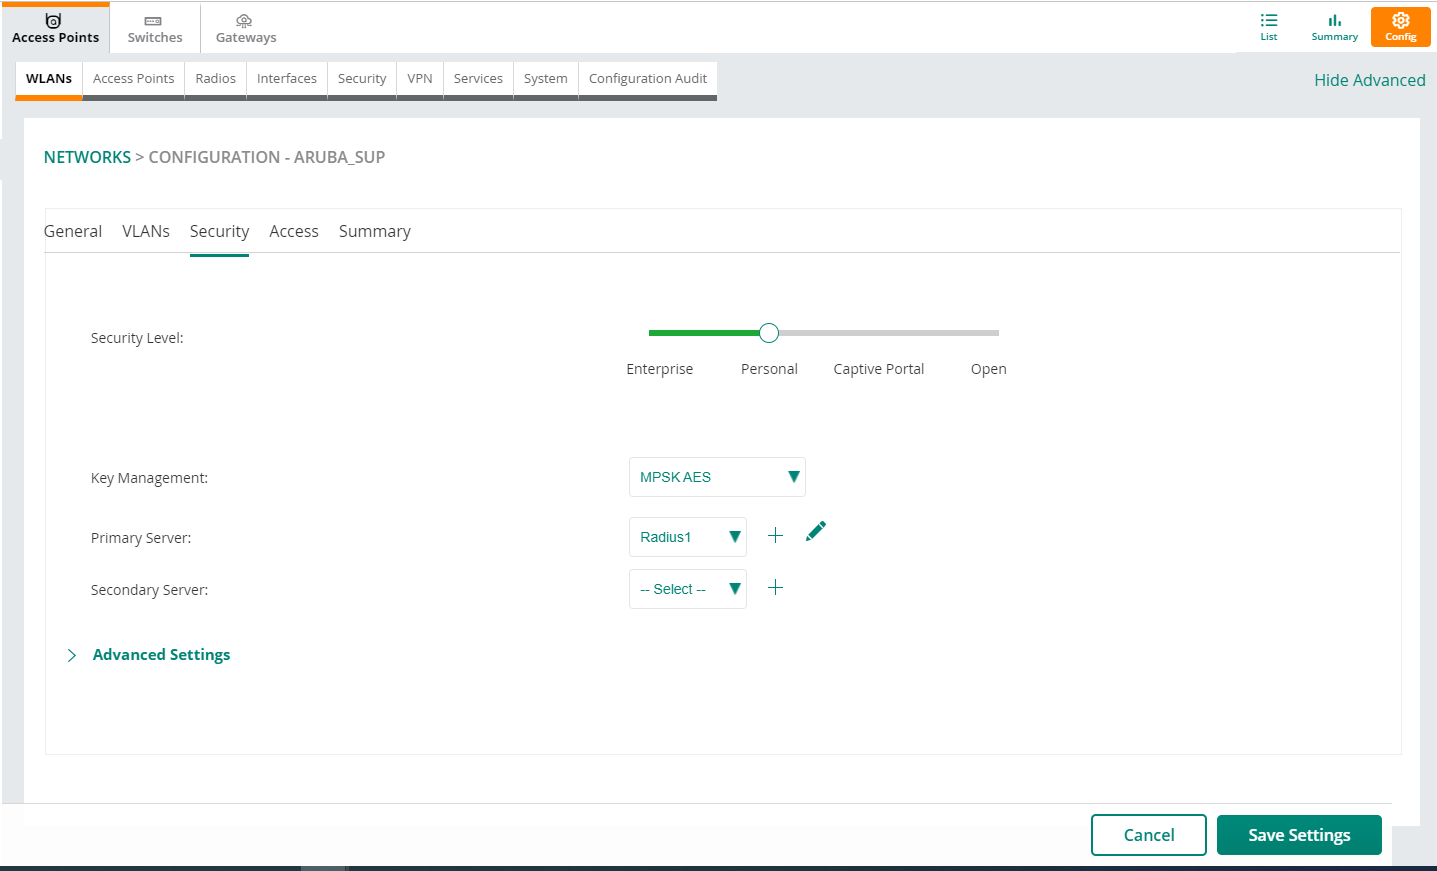
First go to Devices > Access points > Wireless Management > Wireless SSIDs and select the SSID configuration you want to configure.
In the Security section, configure:
Security level: Personal
Key management: MPSK AES
Primary Server: Select the radius server created in section 2.1
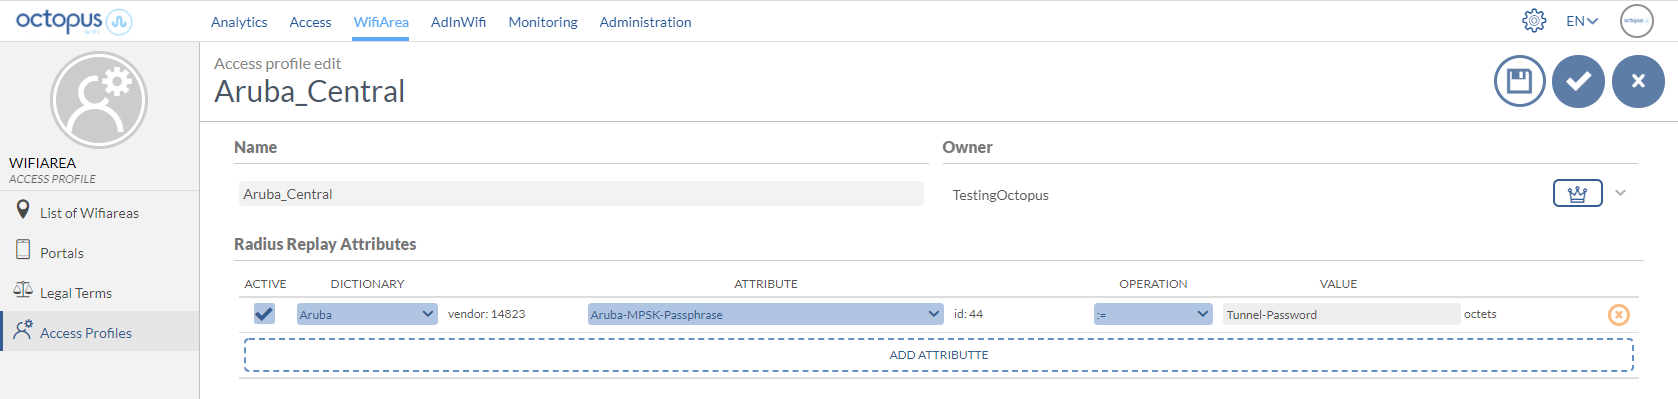
Octopus platform configuration > Access Profile
Radius attributes to configure:
Aruba-MPSK-Passphrase := (proxy-reply:Tunnel-Password)
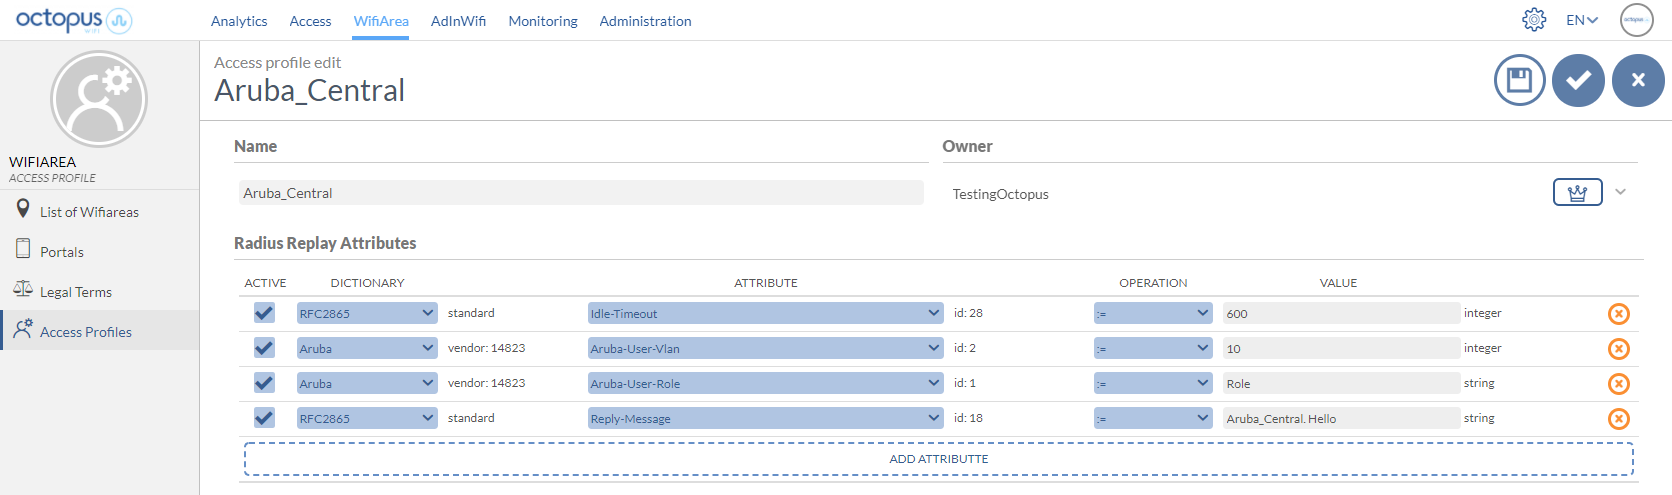
3.4 Access Profiles Configuration
Through the Octopus platform it is possible to configure a series of reply attributes of the Access-Accept packages, grouped in the so-called Access Profiles. These Access Profiles allow you to activate a series of functionalities in Aruba Central. Although the most common and proprietary Aruba radius dictionaries are available, below is a list of some of the most interesting ones:
Attribute | Description | Format |
|---|---|---|
Idle-timeout | Maximum inactivity time. If the user does not transfer any data on the network during this time, the session will be terminated and the user will have to re-authenticate. | Seconds |
Aruba-User-Vlan | Assignment of a previously created VLAN in Aruba Central | |
Aruba-User-Role | Assignment of a previously created Role in Aruba Central | |
Reply-Message | Useful for troubleshooting functions, as it allows to identify associated elements of the Octopus Wifi platform, such as an access profile, access method, location, ... |
Example of an Access Profile configuration with the attributes explained above:
| Info |
|---|
For more information on how to create an Access Profile in Octopus Platform go to /wiki/spaces/SOP/pages/1963492399 Access profiles |